Web development for embedded devices sucks. More often than not, it involves editing concatenated strings in a header file. Even some of the most popular web projects like Tasmota, WiFiManager, and esphome work like this.
If you’ve done any web development recently, it’s probably involved build tooling like Webpack. This makes it super easy to include external libraries, and to pack all of your assets (javascript, images, stylesheets) into an easy-to-distribute bundle. There’s also a wealth of incredible development tools like hot reloading, and support for alternative languages like Typescript.
Why is the experience so different when developing web applications for embedded devices?
To serve assets, you have these options:
- Embed the assets in the source code. This is a pain in the butt, but is a very straightforward approach and results in a complete firmware image.
- Side-load assets on, e.g., SPIFFS. This introduces an out-of-band step to get your project running.
- Serve assets from an external source. This introduces a point of failure, and requires Internet access.
(2) and (3) make for a much nicer development experience, but make for a crappy user experience. (1) is the reverse. It makes sense that developers optimize for their users.
There’s good news: we can have our cake and eat it. It just requires some simple build tooling. We can use Webpack as we normally would, have it generate a messy header file that our compiler will happily pack into a firmware image for us.
Example
I put together a skeleton example on Github, available here:
https://github.com/sidoh/webpack_with_platformio
Hopefully this serves as a useful quickstart, but I’ll give a more detailed overview below.
Moving Pieces
There are three high-level parts:
- The main PlatformIO application (
./platformio.ini,./lib,./src). - The web app (
./web) - A Webpack plugin to cram the web assets into a header file and a PlatformIO build script to call it (
./.build_web.py)
./web is a self-contained Webpack application. We can iterate on it using the standard builtin development server. When we’re done, we can call the standard pio run --target upload to run the PlatformIO build. It’ll rebuild the web assets, pack them into a header file, and recompile our application.
The webserver is configured to dynamically serve the assets from the header file.
Result
Now that the build process is set up, we can focus on writing a great web app. Here’s an example of something I built for one of my projects, epaper_templates (I’ll talk about the new version in a future post at some point).
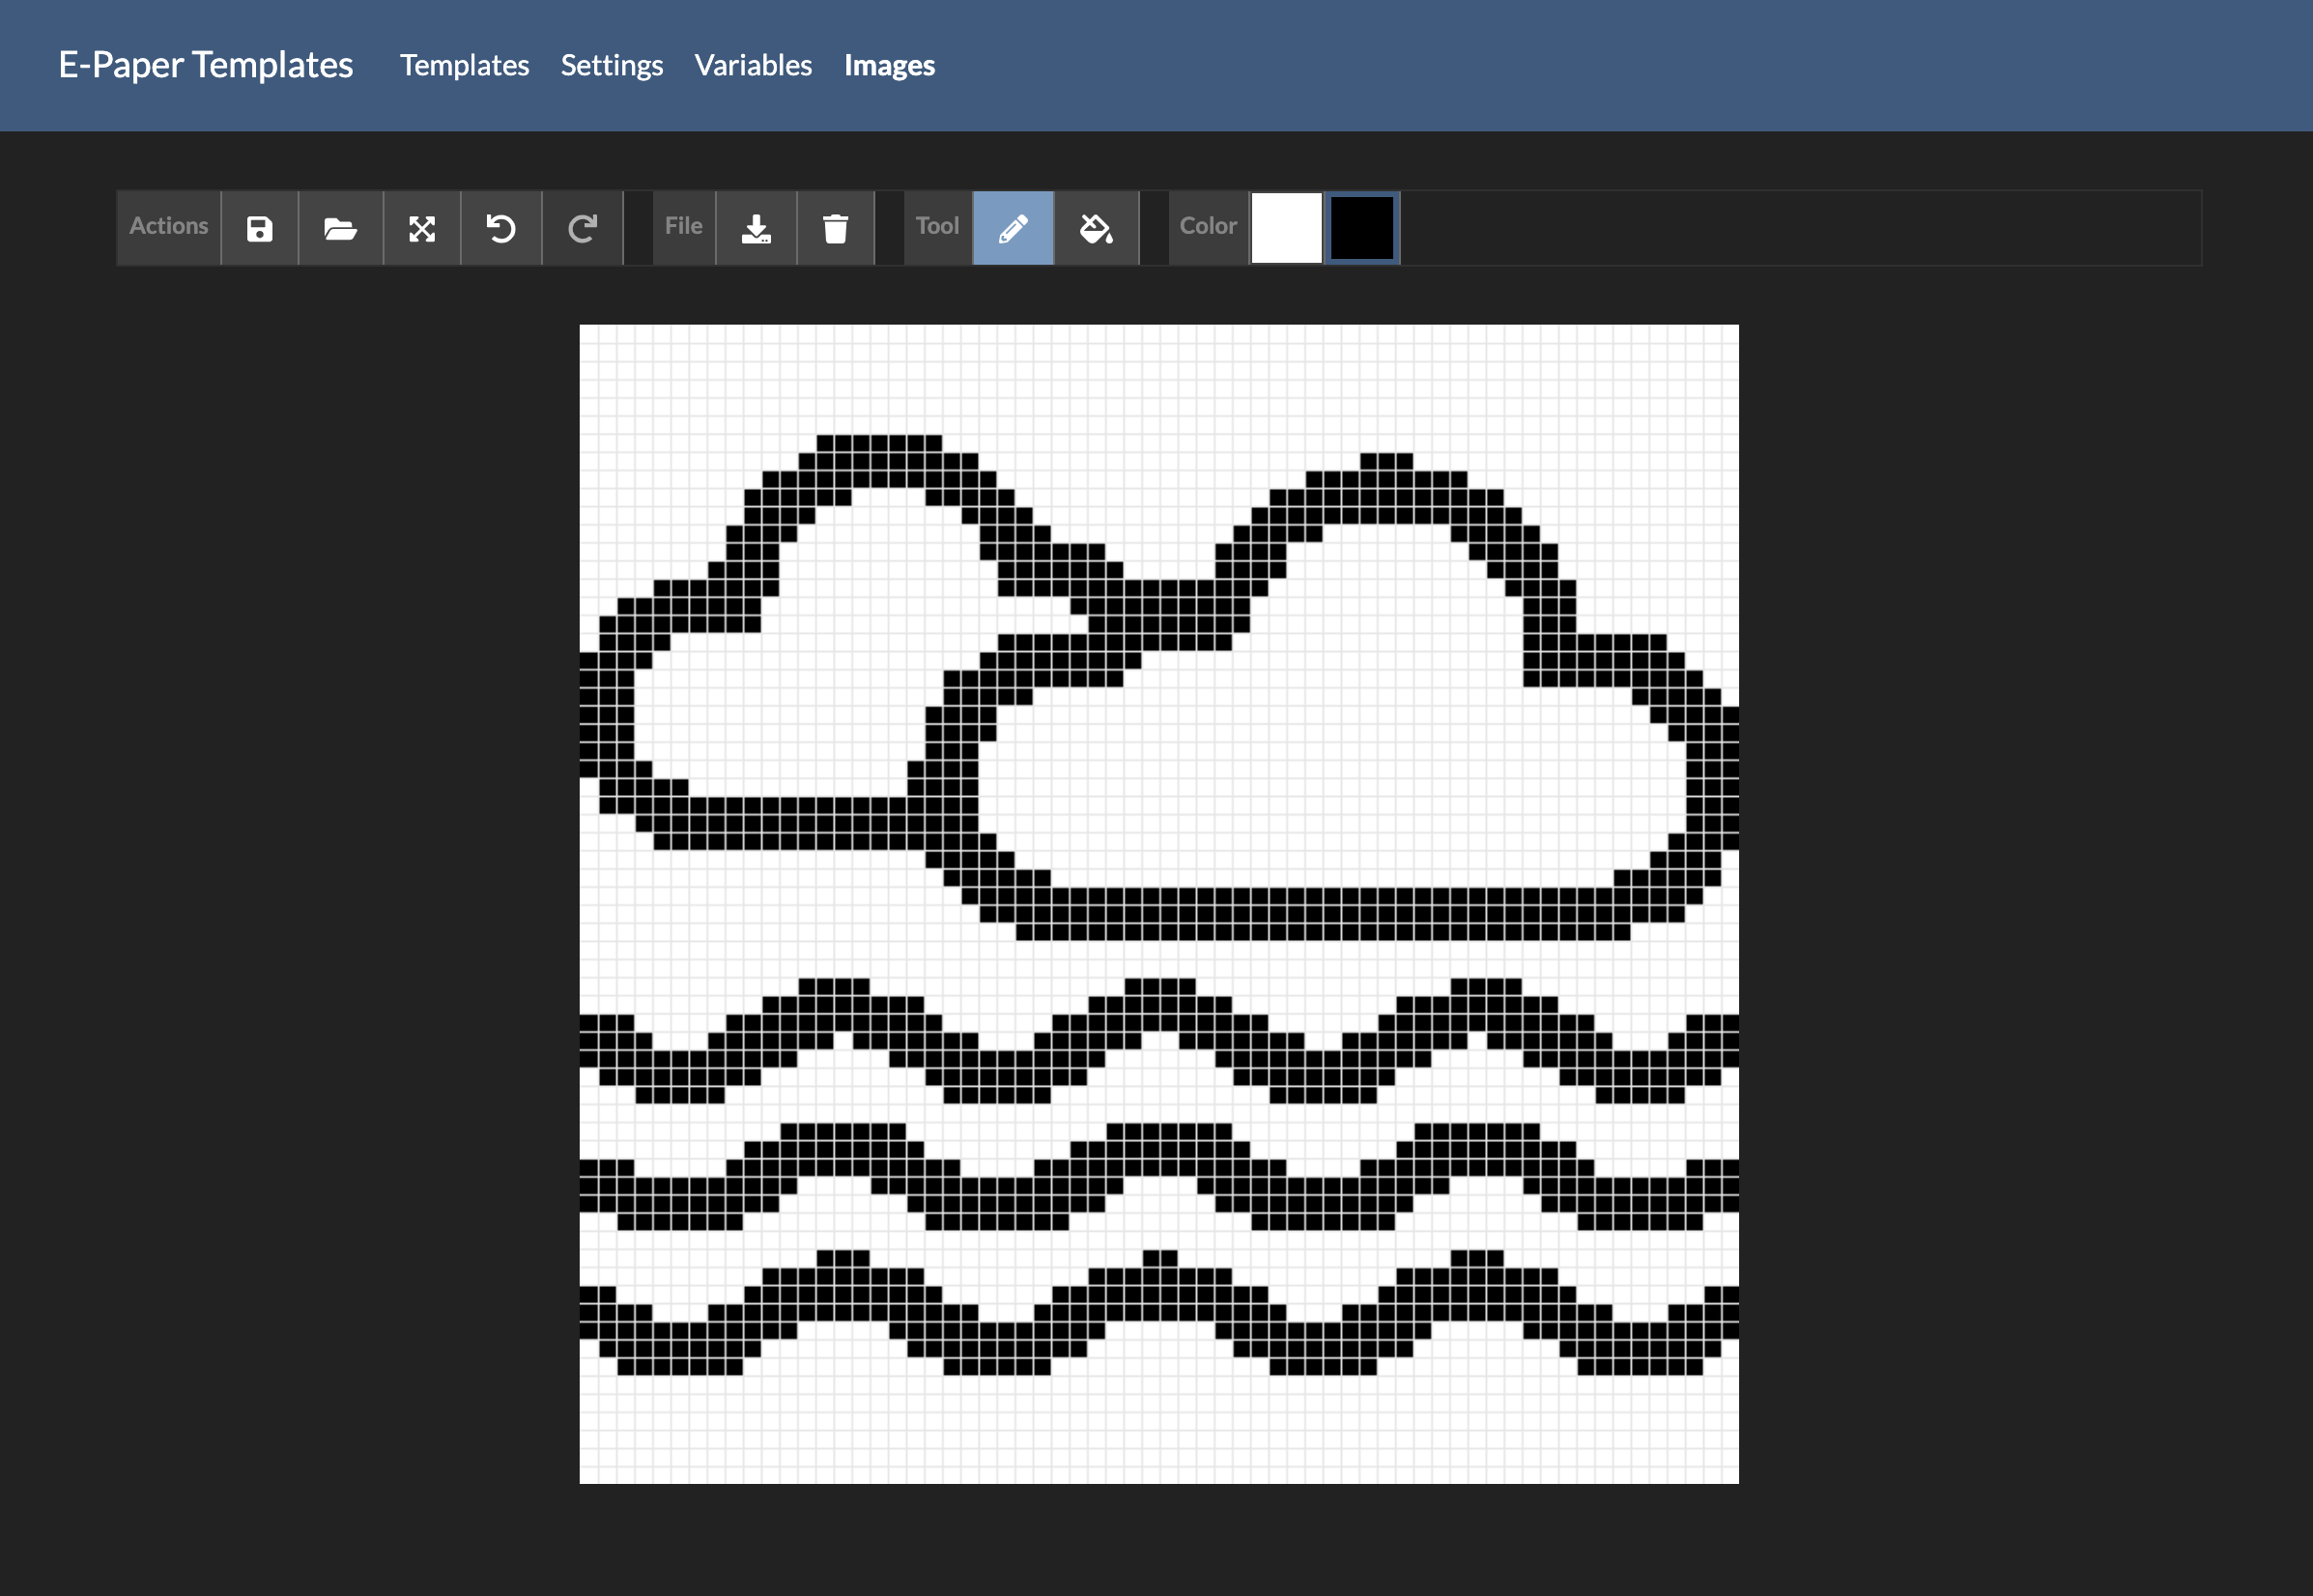
This is a simple bitmap editor with local image importing, undo/redo stack, resizing, etc. Writing this in raw Javascript would be a giant pain in the butt. Doing it with React and the full richness of the Javascript developer community was an absolute delight. It took me a couple of evenings.
Continuous Integration
It’s pretty straightforward to get a build tool like TravisCI to build and distribute pre-compiled firmware images, complete with web assets. My epaper_templates project does this for tagged releases. Its .travis.yml may serve as a useful reference.
Downsides
This is, of course, not entirely free. Let’s discuss some of the costs:
- We’re embedding all of our assets in source. We’re obviously using progmem, but we still only have a couple of MBs of flash to play with. The above example is around 500 KB when it’s said and done.
- It’s is clearly more work than just putting stuff in header strings. If what you’re trying to do is simple, this is probably not the right approach for you.
- It adds dependencies to your build (e.g., node, npm).
Conclusion
When we have powerful tools, we can build really cool stuff without too much effort. Hopefully this is a useful reference for anyone wanting to use modern web development tooling in their embedded projects.