Background
HomeAssistant has a builtin authentication system bundled with a couple of providers which allow you to control how users are authenticated. Although I have been impressed with how thorough and robust the implementation is, it’s not terribly easy to integrate with an external authentication provider. There is the command-line provider, but there you’re still limited to schemes that use username/passwords entered by the user in the UI.
I’ve been using client-side TLS certificates to authenticate with internal services for a couple of years, and have been really pleased with the result:
- Done correctly, client certificates are very secure.
- Putting aside a really expensive initial setup cost, client certificates provide a fantastic end-user experience.
My family likes using HomeAssistant, but I don’t want anyone to deal with another password. I’d rather just rely on the client certificate auth system I’ve got set up. I endeavored to accomplish this, and figured I’d share the process and the results.
The Problem
Despite the extensible provider architecture, HASS does not currently support custom providers. If you’re willing to don your hacker fedora, you can get this done, however. There are two basic problems that need solving:
- Create an auth provider that interacts with client certificates
- Find a way to plumb in a custom auth provider
In the following sections, I’ll detail the solution I found.
Custom Auth Provider
First, a bit of background on how I’ve got client certs set up. I wrote about an earlier version a while back, but it’s evolved since then. That said, it still works the same way using some nginx lua scripting:
- When requesting a protected resource, nginx validates a cookie (which is a signed JWT).
- If the cookie is valid, the user is let through. If not, they’re redirected to an auth endpoint.
- The auth endpoint validates a client certificate. On passing, it generates a JWT, writes it to a cookie, and redirects to (1).
Sidebar: This might seem convoluted, but I promise it makes some amount of sense. To avoid interrupting the flow of the writeup more than this sidebar already has, I’ll stuff my reasoning in an appendix.
Given this, it’d work nicely for the custom auth provider to operate by verifying the JWT in the cookie. The claims in the JWT contain a username we can use. Here’s a gist containing an auth provider that does this, and the relevant configuration changes. The rough flow here is:
- When the login flow is created, HASS puts the client’s cookies in the flow context.
- In a single go, we extract the relevant cookie from the flow context, parse the JWT it contains, verify the signature, and extract the appropriate claim from the payload to use as the username.
- Either create the username we found, or return the existing user with that username.
Note that this won’t work out of the box because HASS does not forward cookies from the client that initiated the login flow. This tiny patch of HASS internals fixes that, though (we’ll cover this in the next session).
Auth Provider Plumbing
Now we’ve got to get HASS to recognize our changes. This isn’t difficult to solve, but there’s not a way to accomplish any of it without getting into the guts of HomeAssistant. So if you’re looking for a clean, officially supported solution, you’re unfortunately not gonna find it here.
All we’ve got to do is put the auth provider from the previous section the source directory that HASS expects (homeassistant/auth/providers), and apply the patch for login_flow.py mentioned in the previous section. We’ll also want a way to ensure the changes stick around after system updates.
If you’re using docker, this reasonably straightforward. Simply put the auth provider and the patched version of login_flow.py in the HASS configuration directory, and then link them to the appropriate places within the docker container. I use a shell script to manage updates, so I just tossed the link commands at the end:
|
1 2 3 4 5 6 7 8 9 10 11 12 13 14 15 16 17 18 19 20 21 22 23 24 25 26 27 28 29 30 |
#!/bin/bash run-container-cmd() { docker exec -u 0 -ti home-assistant /bin/bash -c "$@" } docker pull homeassistant/home-assistant docker stop home-assistant docker rm home-assistant docker run -d \ --name="home-assistant" \ -v /srv/homeassistant:/config \ -v /etc/localtime:/etc/localtime:ro \ --net=host \ --restart always \ --device=/dev/ttyACM0:/zwaveusbstick:rwm \ homeassistant/home-assistant if run-container-cmd "[[ ! -L /usr/src/homeassistant/homeassistant/components/auth/login_flow.py ]]"; then echo "Auth directory does not exist. Creating links from config..." run-container-cmd "mv /usr/src/homeassistant/homeassistant/components/auth/login_flow.py /usr/src/homeassistant/homeassistant/components/auth/login_flow.py.old" run-container-cmd "ln -s /config/custom_components/auth/login_flow.py /usr/src/homeassistant/homeassistant/components/auth" run-container-cmd "ln -s /config/custom_components/auth/providers/*.py /usr/src/homeassistant/homeassistant/auth/providers" echo "Restarting..." docker restart home-assistant fi |
And that’s about it! When HomeAssistant reboots, the login page should look like this:
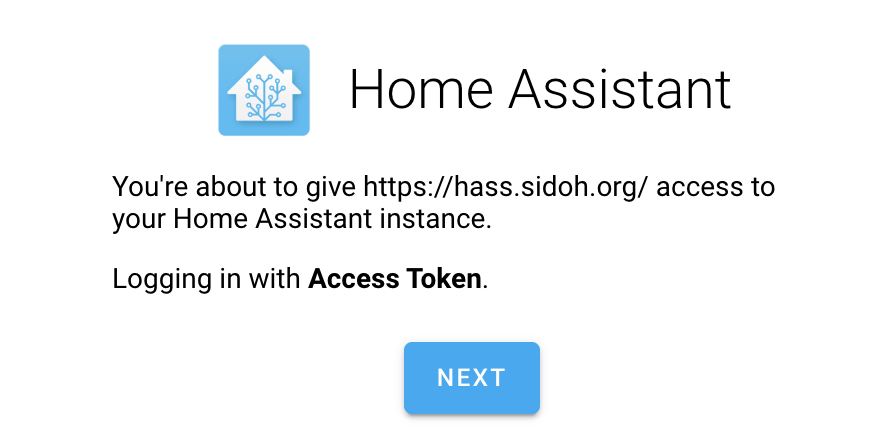
Clicking on the “Next” button should result in the user being logged in, provided they’ve got the JWT cookie set (and they have to, given that nginx will not let this page render otherwise).
Conclusion
This works beautifully. No password required when logging into HomeAssistant, and no meaningful security concessions.
I am, however, pretty disappointed with how much hacking around it took to accomplish this. Hopefully custom stuff like this gets easier in future releases.
Appendix: What’s all this JWT Cookie Rigamarole?
The client certificate SSO flow mentioned previously probably seems a little Goldbergian. The reasons that I landed on and stuck with it are:
- Some websites just don’t work with client certificates. Particularly — and this may have improved over the last few years without me noticing — web socket requests do not play well. Sometimes, client certs are not sent along with requests.
- Scoped authorization. Client certificates alone provide authentication, but nothing other than binary authorization. This system provides a natural place for more finely grained authorization.
- Provides an escape hatch for systems where using client certificates is a pain in the butt. Curling an endpoint? No problem. Grab an access token, and put it in an
Authorizationheader. - Similarly to the previous point, provides a way to grant temporary access without needing to deal with CRLs. Since JWTs can include expiration times, you can make access however temporary you like.
Hey Chris,
Thanks so much for this post – blows my mind that Home Assistant doesn’t have some form of this built in already!
To get this working on the current version of Home Assistant I had to make some changes:
Add “, algorithms=[‘HS512’]” to the jwt.decode line
Name the file access_token.py not auth_provider.py
I also removed the audience stuff as my JWT tokens doesn’t contain that information, but that may just have been a red herring.