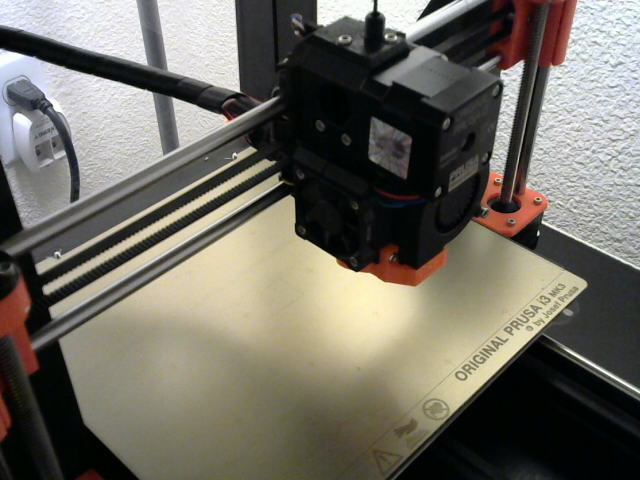
Earlier this year, Prusa released their take on a 3D printer enclosure made from the famous IKEA Lack tables and printable parts.
There are a wealth of printable accessories for this enclosure. I’ve found these ones really nice:
- External LCD mounting brackets by crowlord
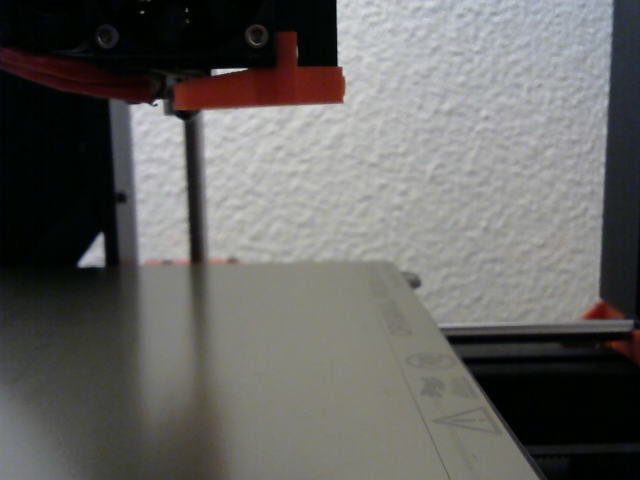
- X-axis mount for Logitech C270 Camera by Kev31779
- Logitech C270 Faceplate and Focus Ring by elmerohueso
- Geared adjustable filament holder by rshartog
I’ve designed a few parts of my own that I’m pretty happy with. I would not be surprised to learn there are equivalent or better alternatives to these. I did try looking, but not too hard. I was happy to have the design challenge.
Fan Mount
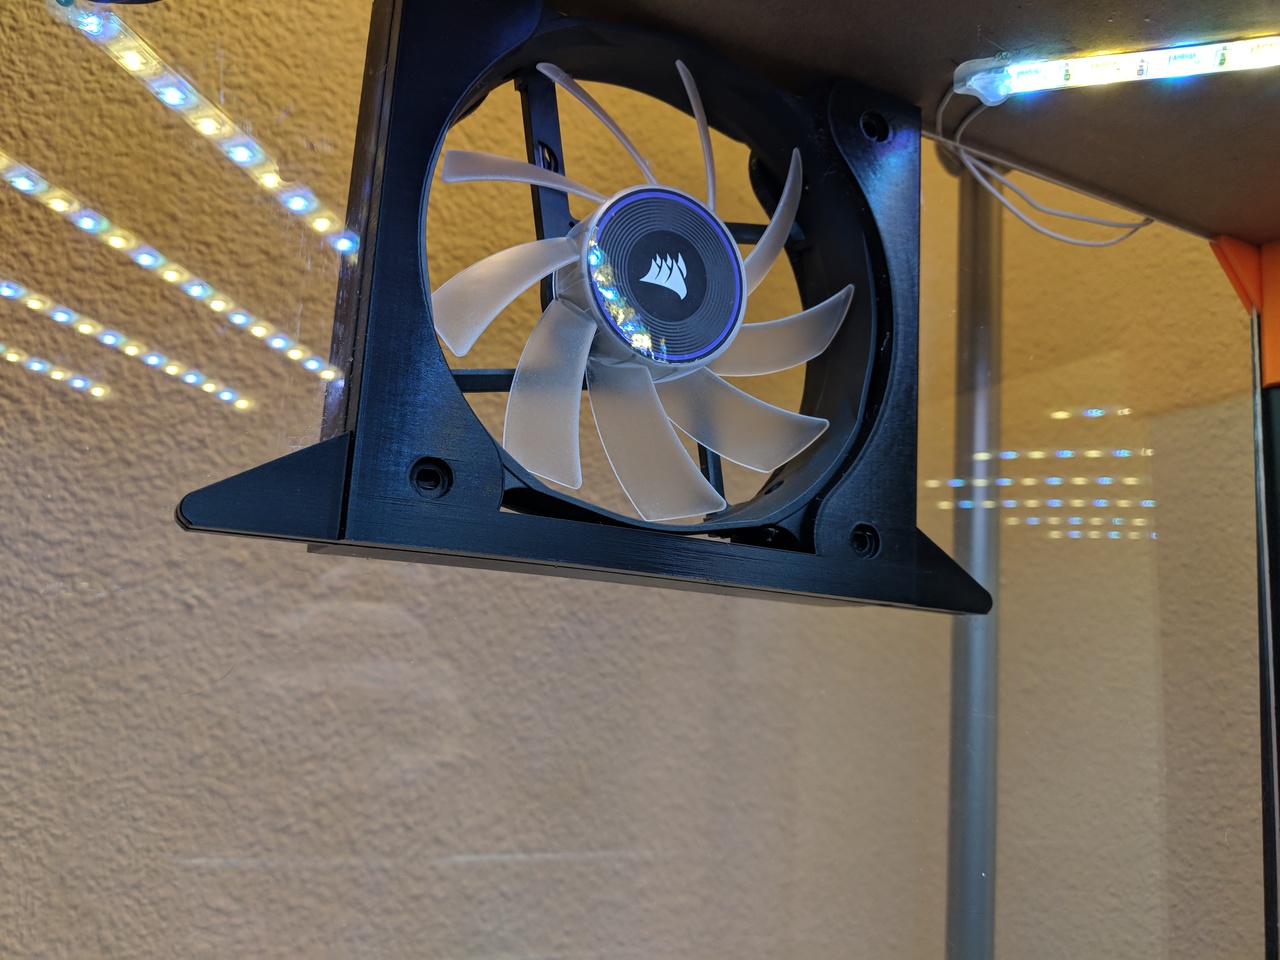
Enclosures get hot enough to screw with PLA print quality. I added a ventilation fan which is capable of keeping the temperature in safe ranges (~27 C).
This is a mount for a standard 120x120mm computer case fan. I’m using this Corsair AF120 fan*.
The mount slides into a centered cutout approximately 129x129mm on one of the acrylic sheets (I’m using the rear one).
I had intended for the cutout in my sheet to be closer to 122x122mm, but the company I bought the sheet from didn’t get the measurements exactly right. It was nice to be able to easily resize the part in Fusion 360 and print it out to-size.
1″ Grommet
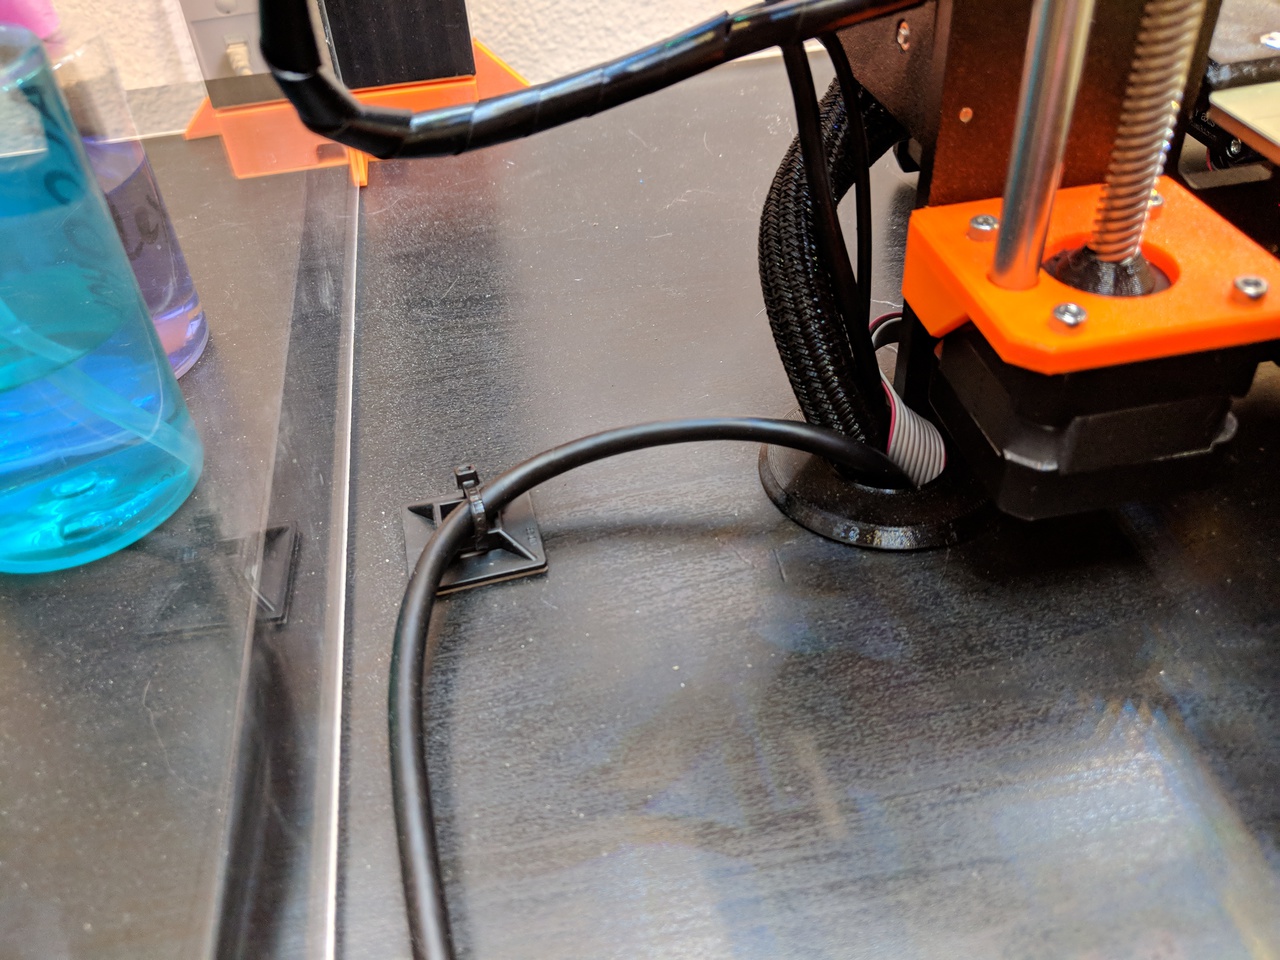
I drilled a 1″ hole through the bottom table to feed these cables through:
- Two Logitech C270 * USB cables
- LCD ribbon cables
- 24v cables from the PSU
To make the hole look nicer I “designed” a grommet to fit the crappy hole my 1″ drill made.
Birdseye Mount for Logitech C270
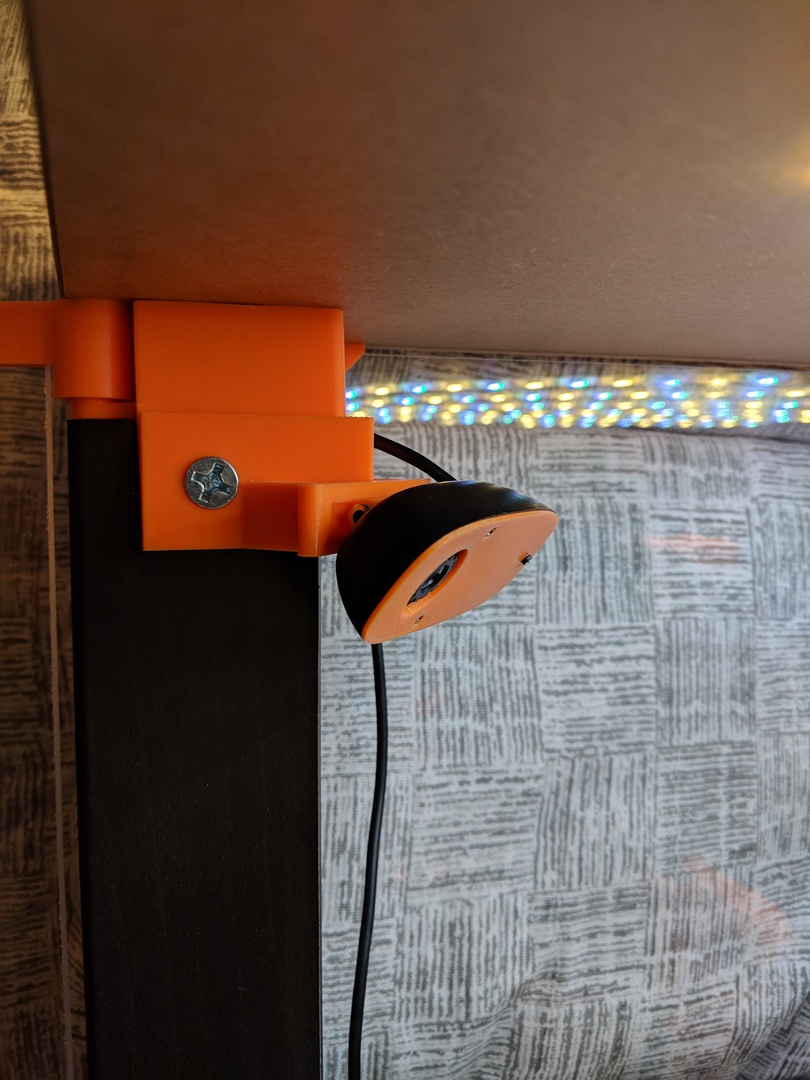
The Logitech C270* is a super cheap (~$20) 720p USB webcam that works really well with Octoprint.
I have two of them in my setup. First, the aforementioned x-axis mounted camera. Great for making sure the print is looking good where it’s at. Example view:
And the one placed in this mount, which gives a birds-eye view of the whole print bed. Example view:
Modified Door Handles
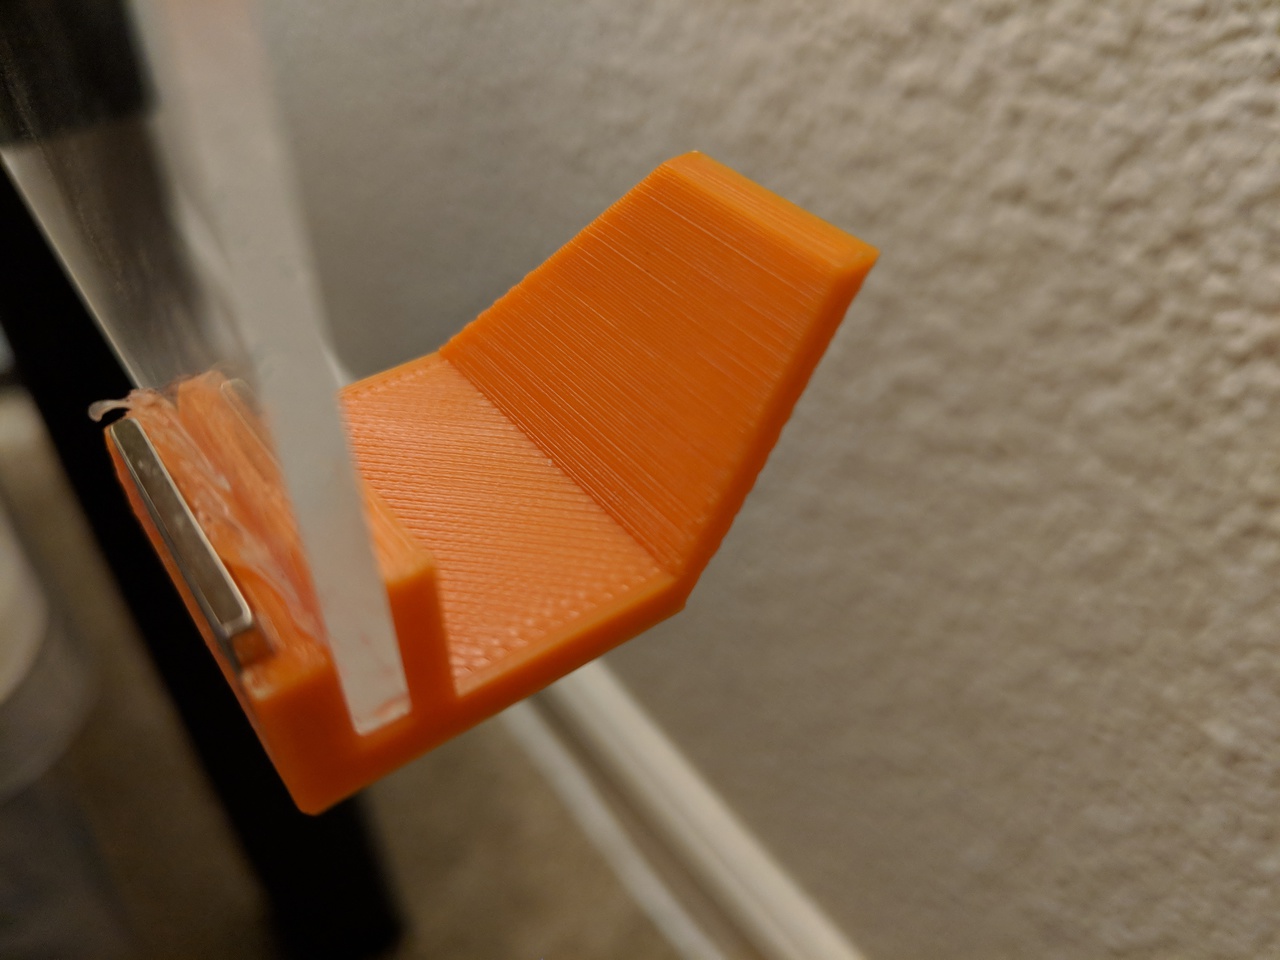
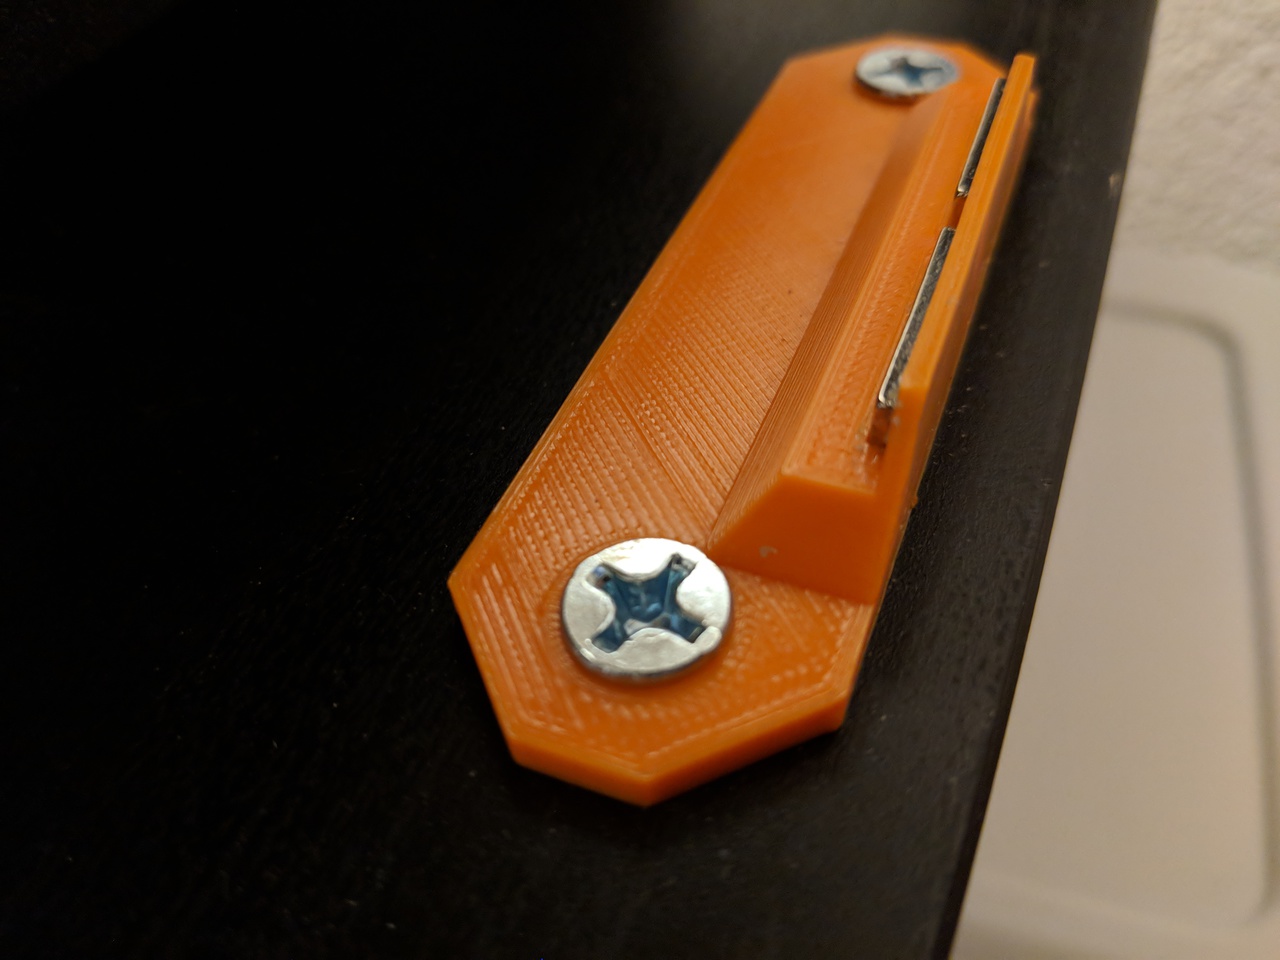
I redesigned the included door handles from scratch, mostly in order to improve my Fusion 360 design skills.
There are a few aesthetic differences, but the functional difference is that there are recesses appropriately sized for some 20x10x2mm N50 magnets* I had laying around.
Control
I’ll share how I’m controlling the fan and lights in a future post. Long story short, it’s an ESP8266 with some MOSFETs and ancillary circuitry.
[*] Contains affiliate link
Hey,
thanks for ur ideas and makes,
can u explain a bit more detailed how u realised the fan controll?
I would luv to controll the fan over my octopi
C270 is 720p not 1080p
Thanks, updated.