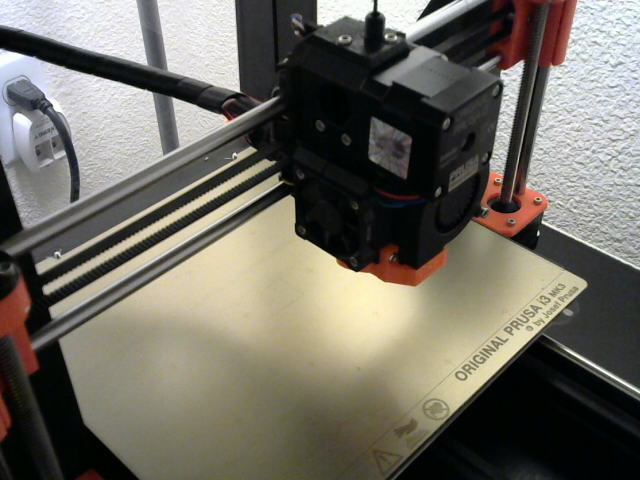
Octoprint is a great web frontend for 3D printers. Octopi is a raspbian-based image for a Raspberry Pi that comes with everything you need set up and configured.
Octoprint is an extremely convenient way to manage your 3D printer. However, it’s capable of a lot of spooky things:
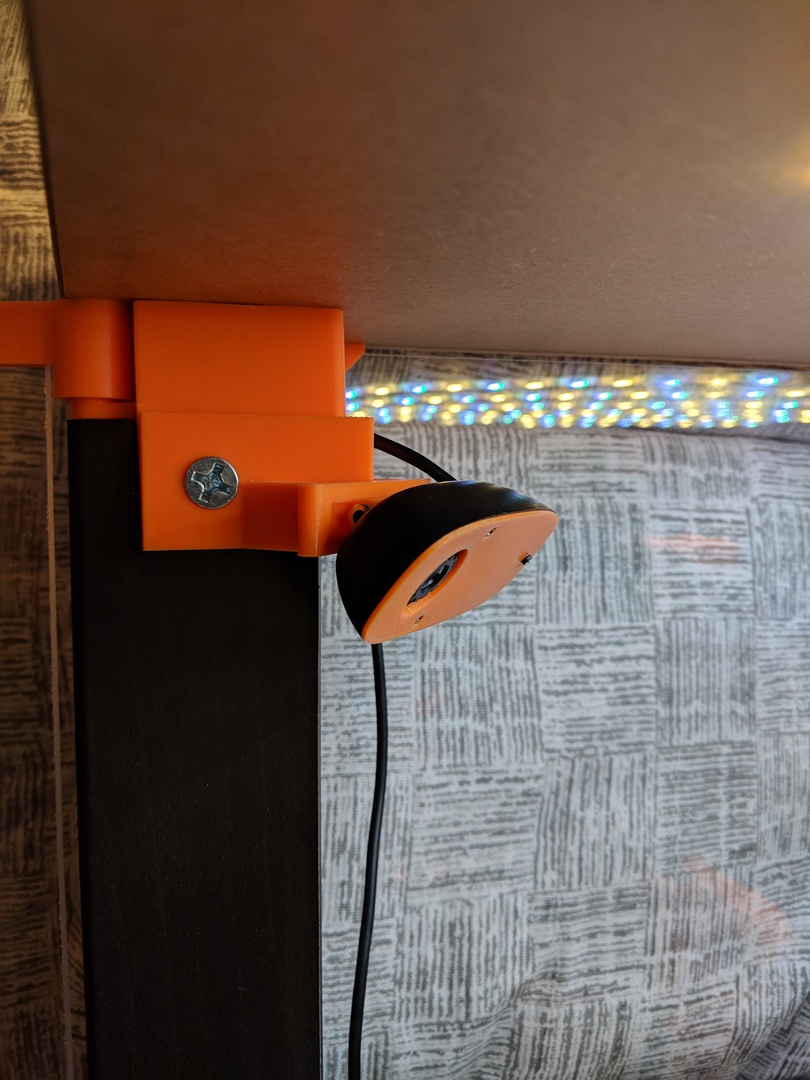
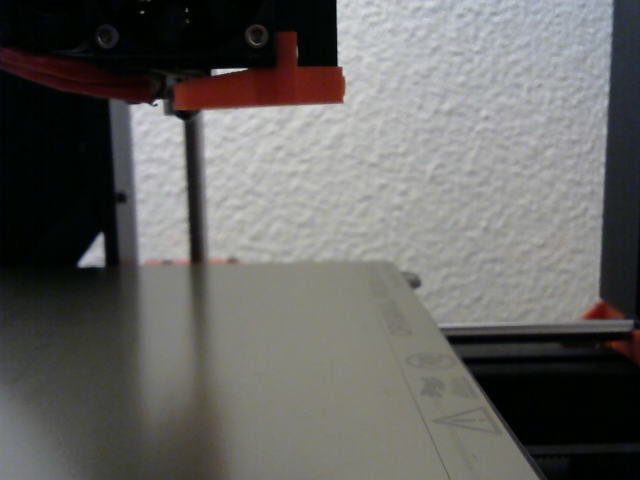
- If you have them, provides access to webcams showing prints
- Can set temperatures of both the tool and the heatbed
- Start whatever print you feel like
- Control steppers
In the best case, Octoprint gives whoever can access it the ability to see into your house and what’s going on with your printer. In the worst case, someone with malicious intent could burn down your house, or at least wreck your printer.
The smartest approach here is probably to put Octoprint on a trusted network and refrain from poking holes in your router to allow access from the Internet.
But I’m not that smart.
In this post I’m going to outline a couple of things I did that make me feel better about exposing my Octoprint instance to the Internet.
Prior Art
First of all, Octoprint has builtin access controls. And you should definitely use those.
I feel strongly that these are not sufficient, however:
- Unauthenticated users can do way too much. Most importantly, they can view webcam feeds. Yikes!
- There have been bugs with the builtin access controls.
Secondly, others have done things similar to what I’ve done. However, there are a couple of things I’m going to do differently, and there are a few additional things I want to do.
Requirements
- Every interaction with Octoprint should go through a reverse proxy. It should not be possible to access any part of Octoprint except through the reverse proxy.
- The last requirement should apply even if you’re on my local network. Something about unauthenticated Webcam feeds gives me the jeebies. Even if they’re pointed at a corner.
- I’m not going to run a web-facing nginx instance on Octoprint. I want to use my main server as an entry point.
- Use client certificates for auth (I covered this in a previous post).
- TLS via letsencrypt.
Close down the ports
By default, Octopi exposes the Octoprint web interface on port 80 (via haproxy), and the webcam feed via mjpeg_streamer on port 8080.
I didn’t want these ports accessible except through loopback. This is easy enough to change.
To shut down access to the Octoprint instance, just disable haproxy:
|
|
$ sudo service haproxy stop $ sudo update-rc.d haproxy disable |
The Octoprint instance itself listens on port 5000 by default, and is bound to loopback.
To shut down access to mjpeg_streamer, we’ll have to fiddle with the script stored at
/root/bin/webcamd :
|
|
$ diff /root/bin/webcamd /root/bin/webcamd.bkup 23c23 < camera_http_options="-n -l 127.0.0.1" --- > camera_http_options="-n" |
This tells mjpeg_streamer’s http plugin to bind itself to loopback. For it to take effect, make sure to restart the webcamd service (or just reboot the pi to be safe).
To test that this worked, try accessing http://octopi.local and http://octopi.local:8080. You should get connection refused errors for both.
Open up the ports (on nginx server)
If you plan on running nginx on the pi, you can skip this step. I have a different server running nginx.
In the last step, we shut down the ports to Octoprint. Now we need to give the server running nginx a way to access them.
An easy way to accomplish this is with local SSH tunnels. Setting this up is easy enough:
- Create a user on the octopi instance. I called mine something to the effect of “ssh-proxy”
- Create a corresponding user on the server running nginx. Generate an SSH key.
- Add the public key for ssh-proxy@nginx-server to ssh-proxy@octopi:~/.ssh/authorized_keys
- Set up autossh to establish a persistent SSH tunnel. This will reestablish the tunnel when the pi reboots or connectivity is broken for any reason. This is the command I used:
|
|
sudo -u ssh-proxy bash -cl 'autossh -f -nNT -L 25000:localhost:5000 -L 28080:localhost:8080 -L 28081:localhost:8081 ssh-proxy@octopi' |
- Execute the above command on boot. I accomplished this by putting it in /etc/rc.local.
Now Octoprint should be available on the nginx server via port 25000. Same deal for the webcam feed on 28080 (I have another webcam accessible via 28081).
Note that these should be bound to loopback because of the way the tunnel is set up. No point in all of this noise if that’s not the case.
Make ’em accessible
Now we can go about this if it were a standard reverse proxy setup. The backends are accessible by loopback on ports local to the nginx server.
You can set up authentication however you like. It’s probably easy and safe to use TLS, HTTP auth, and something like fail2ban.
I like client certificates, and already had them set up for other stuff I run, so I’m using those.
This is my config:
1 2 3 4 5 6 7 8 9 10 11 12 13 14 15 16 17 18 19 20 21 22 23 24 25 26 27 28 29 30 31 32 33 34 35 36 37 38 39 40 41 42 43 44 45 46 47 48 49 50 51 52 53 54 55 56 57 58 59 60 61 62 |
map $http_upgrade $connection_upgrade { default upgrade; '' close; } upstream octopi_camera1 { server 127.0.0.1:28080; } upstream octopi_camera2 { server 127.0.0.1:28081; } upstream octopi_backend { server 127.0.0.1:25000; } server { listen 80; listen 81; server_name octopi.mydomain.com; return 301 https://$host$request_uri; } server { listen 443 ssl; # managed by Certbot server_name octopi.mydomain.com; error_log /var/log/nginx/octopi.mydomain.com/error.log info; access_log /var/log/nginx/octopi.mydomain.com/access.log; #.... bunch of SSL jazz auto-generated by certbot ..... proxy_buffering off; proxy_redirect http:// https://; proxy_set_header X-Real-IP $remote_addr; proxy_set_header X-Forwarded-For $proxy_add_x_forwarded_for; proxy_set_header X-Forwarded-Proto $scheme; proxy_http_version 1.1; proxy_set_header Upgrade $http_upgrade; proxy_set_header Connection $connection_upgrade; proxy_set_header Host $host; # I found this necessary in order to be able to upload large-ish gcode # files. client_max_body_size 1G; location /webcam/ { proxy_pass http://octopi_camera1/; access_by_lua_file /etc/nginx/scripts/sso.lua; } location /camera2/ { proxy_pass http://octopi_camera2/; access_by_lua_file /etc/nginx/scripts/sso.lua; } location / { proxy_pass http://octopi_backend; access_by_lua_file /etc/nginx/scripts/sso.lua; } } |
What’s this access_by_lua hocus pocus?
I covered this in a previous post. The problem is that modern web applications don’t really play nicely with client certificates, and this seemed to include Octoprint. There’s a bunch of wizardry with web sockets and service workers that don’t send the client cert when they’re supposed to.
The basic idea behind the solution is to instead authenticate by a couple of cookies with an HMAC. When these cookies aren’t present, nginx redirects to a domain that requires the client certificate. If the certificate is valid, it generates and drops the appropriate cookies, and the client is redirected to the original URL.
See the aforementioned post for more details.
Goes without saying, but…
The Raspberry Pi itself should be secured as well. Change the default password for the pi user.
